
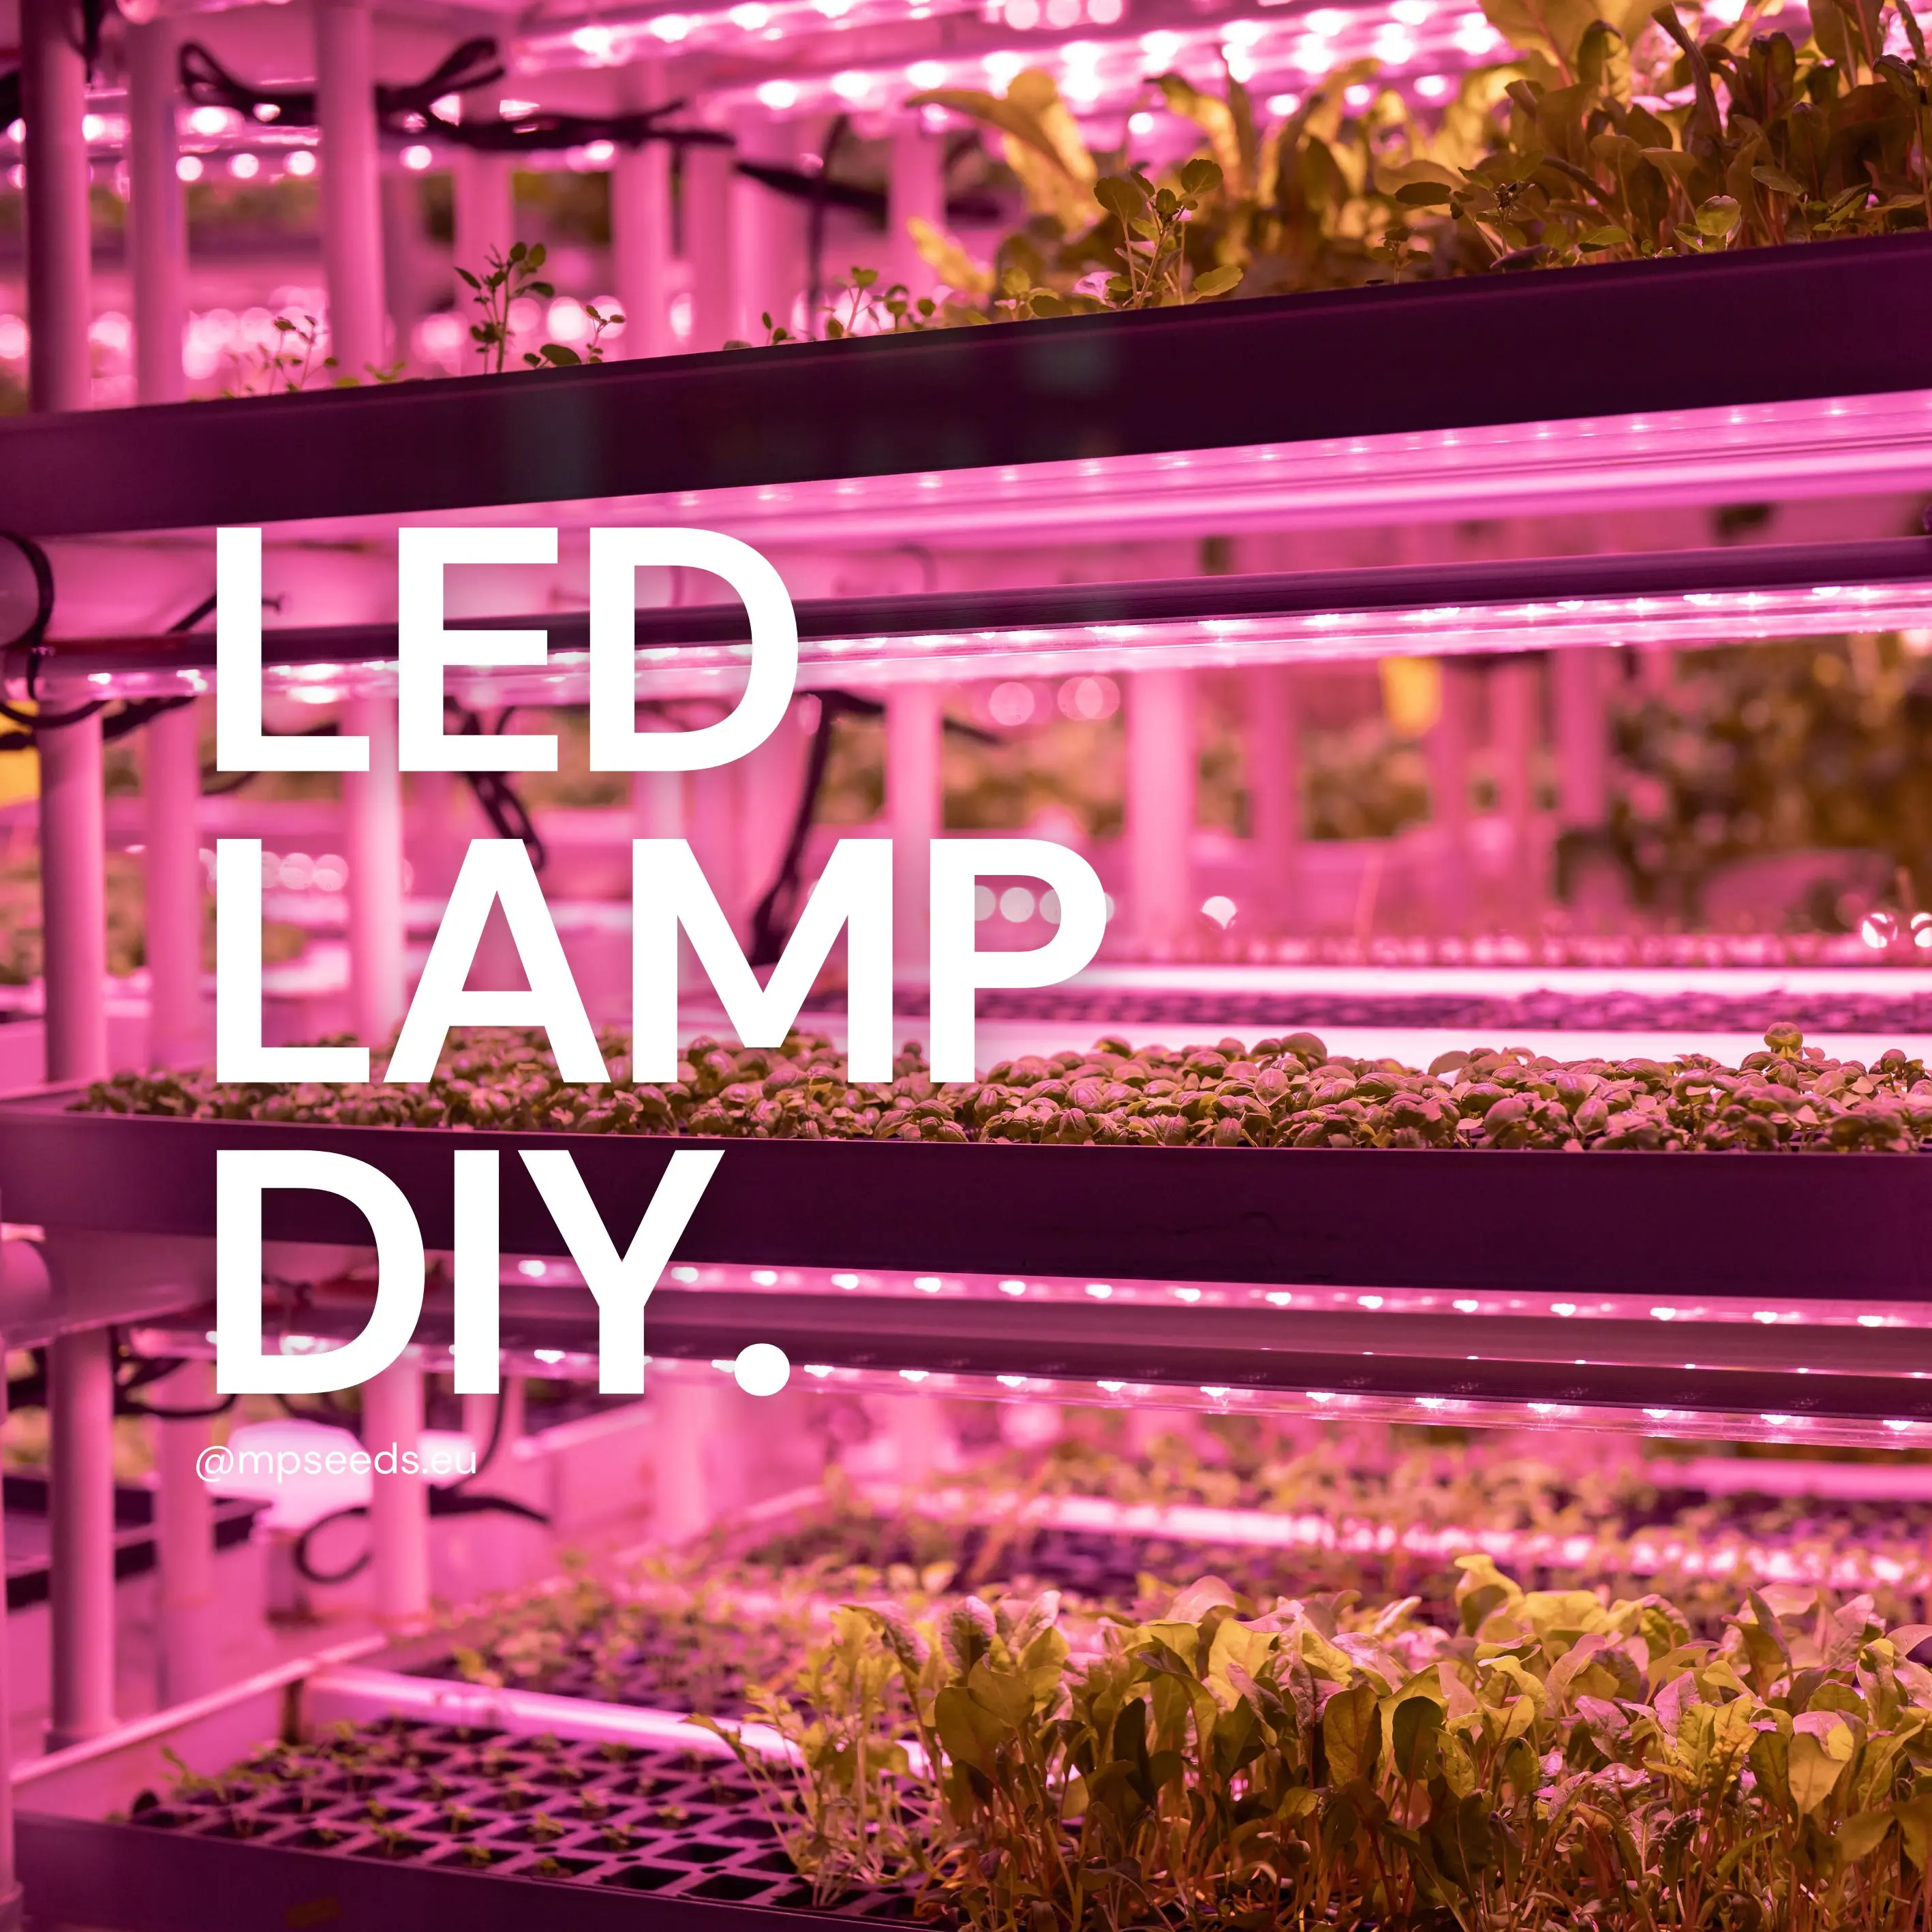
DIY LED Lamp for Growing Microgreens
If you grow microgreens and struggle to find a good LED lamp, you’re not alone. We tested many models from different suppliers and none met our expectations. That’s why we went back to the simple DIY lamp we used years ago. It’s cheap, effective and easy to build. Below you’ll find a clear guide and the exact setup we used.
Table of Contents:
- Why We Built Our Own LED Lamp
- DIY LED Growing Lamp: What You Need
- How It Works
- Step-by-Step Assembly
- Safety & Tips
- Share With Us
1. Why We Built Our Own LED Lamp
Most ready-made lamps looked promising, but in practice they failed: weak light, uneven coverage, overheating drivers, poor build quality or unstable batches. Many of them were also overpriced for such simple construction. For microgreens, light must be predictable, losing trays because a lamp dies mid-cycle is expensive.
Our old DIY setup turned out more reliable than many “professional” lamps. It’s simple, cheap, repairable and gives stable results.
If you want to better understand how different LED light types and spectra affect microgreens growth, yield and micronutrient content, we covered this topic in detail here: 📚 Impact of Different LED Light Types on Microgreens Cultivation
2. DIY LED Grow Light, What You Need
You only need a few basic parts:
Power supply (driver)
A constant-current or stabilized constant-voltage driver. It converts 230 V into safe power for LEDs. Always match the driver type and current to the LEDs you use.
LED modules on PCB
Individual LEDs mounted on small aluminum PCB “stars.” Easy to wire, easy to replace, good heat transfer. We used a mix of cool white (5000–6500 K), red, blue and ultraviolet LEDs.
Wiring
Simple insulated wires. All LEDs will be connected in series, which keeps current equal and light stable.
Aluminum profile (heat sink)
LEDs need cooling. Use a C-channel aluminum profile, 3–5 mm thick. It spreads heat and protects LED lifespan.
Optional but useful: thermal paste, heat-shrink tubing, small adhesive clips.
3. How It Works
Power supply
The driver keeps the current stable. Check the output type, current rating and voltage range. Example: if one LED is 1 W and you use 30 LEDs, the total power of the lamp is 30 W, so the driver must be rated accordingly (with a safety margin).
Series connection
Power flows through each LED in one line:
driver + → LED1 → LED2 → LED3 → driver –
This ensures equal current, stable brightness and easy repairs.
Heat management
The aluminum profile acts as a radiator. It spreads heat, prevents overheating and keeps light output stable. The thicker the aluminum, the better the cooling.
4. Step-by-Step Assembly
Below is a clear, practical guide you can follow even if you have never built an LED lamp before. Each step explains what to do and why it matters.
1. Prepare all components
Lay out everything on a clean workspace:
- LED modules
- power supply
- aluminum profile
- wires
- screwdriver, soldering iron (or connectors), thermal paste
2. Mark the positions of the LEDs
Place the LED modules along the aluminum profile to check spacing.
Tips:
- keep equal distance between LEDs for even light
- leave space on one end for wiring and the driver input
- avoid placing LEDs too close to the edges
Mark each position lightly with a pencil.
3. Apply thermal paste
Before mounting, clean and degrease the aluminum surface, then add a thin layer of thermal paste or place a thermal pad under each LED module.
This improves heat transfer, which:
- keeps LEDs cool
- increases lifespan
Even cheap LEDs work better with proper cooling.
4. Mount the LEDs on the profile
Fix each LED module to the aluminum profile using screws or strong thermal adhesive.
Make sure all modules sit flat. Any gap reduces heat transfer.
5. Wire the LEDs in series
Use short insulated wires to connect:
plus → minus → plus → minus
until all LEDs form one chain.
Things to check:
- solder joints must be clean and solid
- wires should not touch the aluminum directly without insulation
- keep wiring tidy so nothing overheats
Series wiring ensures stable, uniform light.
6. Connect the driver
Attach the final plus and minus from the LED chain to the driver output.
Then connect the driver input to the power cable (230 V).
If you add an on/off switch, place it on the input side.
Safety notes:
- double-check polarity
- secure wires with heat-shrink
- keep the driver in the safe place
A stable driver is the main protection for your LEDs.
7. Test the lamp
Before hanging it over microgreens:
- turn the lamp on for a few minutes
- check if any LED is flickering or heating unevenly
- ensure the aluminum warms up slowly and evenly
- listen for any buzzing from the driver
If all looks good, the lamp is ready.
8. Install it above your trays
Hang or mount the lamp about:
- 20–25 cm above microgreens for most varieties
- lower for fast-growing herbs
- higher for heat-sensitive crops
Even light = even growth.
[product id="249, 265"]
5. Safety & Practical Tips
- Always cut the power before working on any wires.
- No exposed connections: use heat-shrink on all electrical joints.
- The aluminum profile should be warm, not hot; improve airflow if necessary.
- A low-quality driver is the most common failure point; replace it if it flickers or overheats.
- Keep the driver away from water and condensation at all times.
- For a 1 m shelf, we recommend lamps in the 30–60 W range, depending on crop density and mounting height.
- Install the on/off switch on the 230 V input side, before the power supply.
- These recommendations are based on practical experience and theory; you build and use this setup at your own risk.
DIY lamps are a good choice for small and medium growers who need reliable light at a low cost. It’s the same method we used years ago in our own microgreens production, and those lamps still work today.
But we don’t run a professional farm anymore, so treat this as a practical DIY solution you use at your own discretion.
[product id="289, 305"]
6. Share With Us
If you already use LED lamps for microgreens and found a model that works well, we would love to hear about it. Reliable lighting is still difficult to find, and your experience can help other growers avoid problems.
We test new lamps all the time, so recommendations are welcome. If you have a setup worth checking, let us know, we’re always open to learning from our growers.